
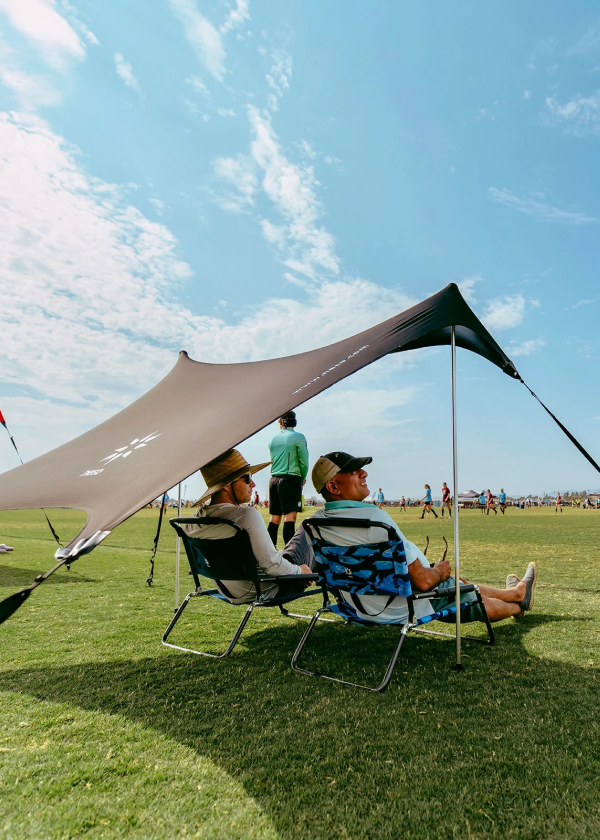
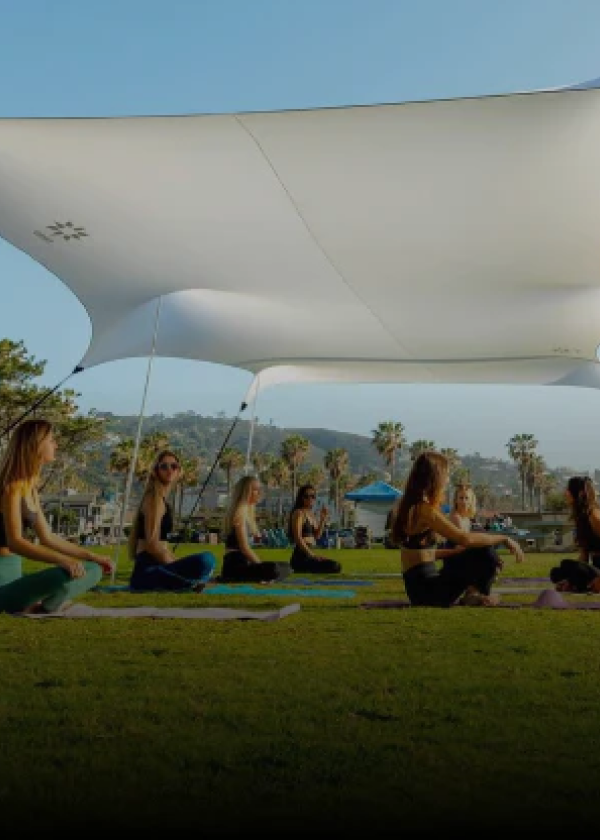
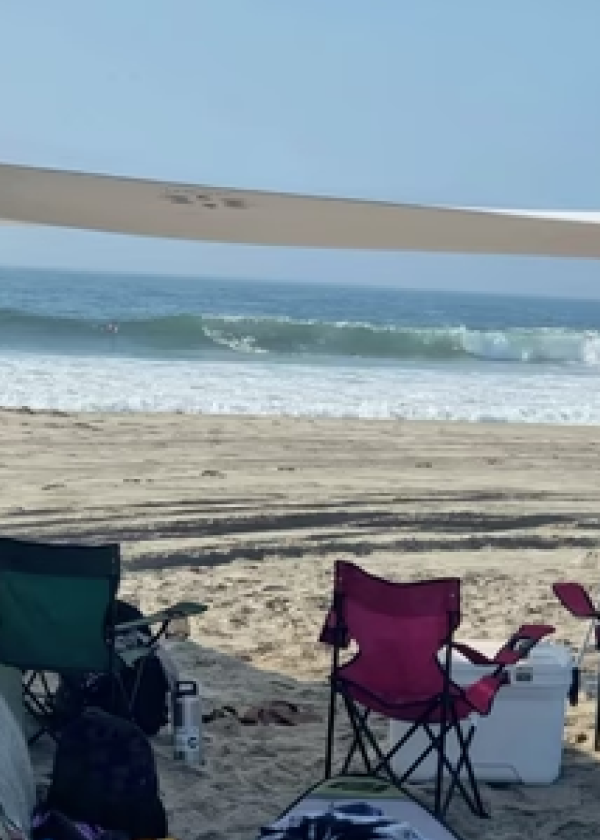

Beach Tent General Setup
Beach Tent Setup Tips
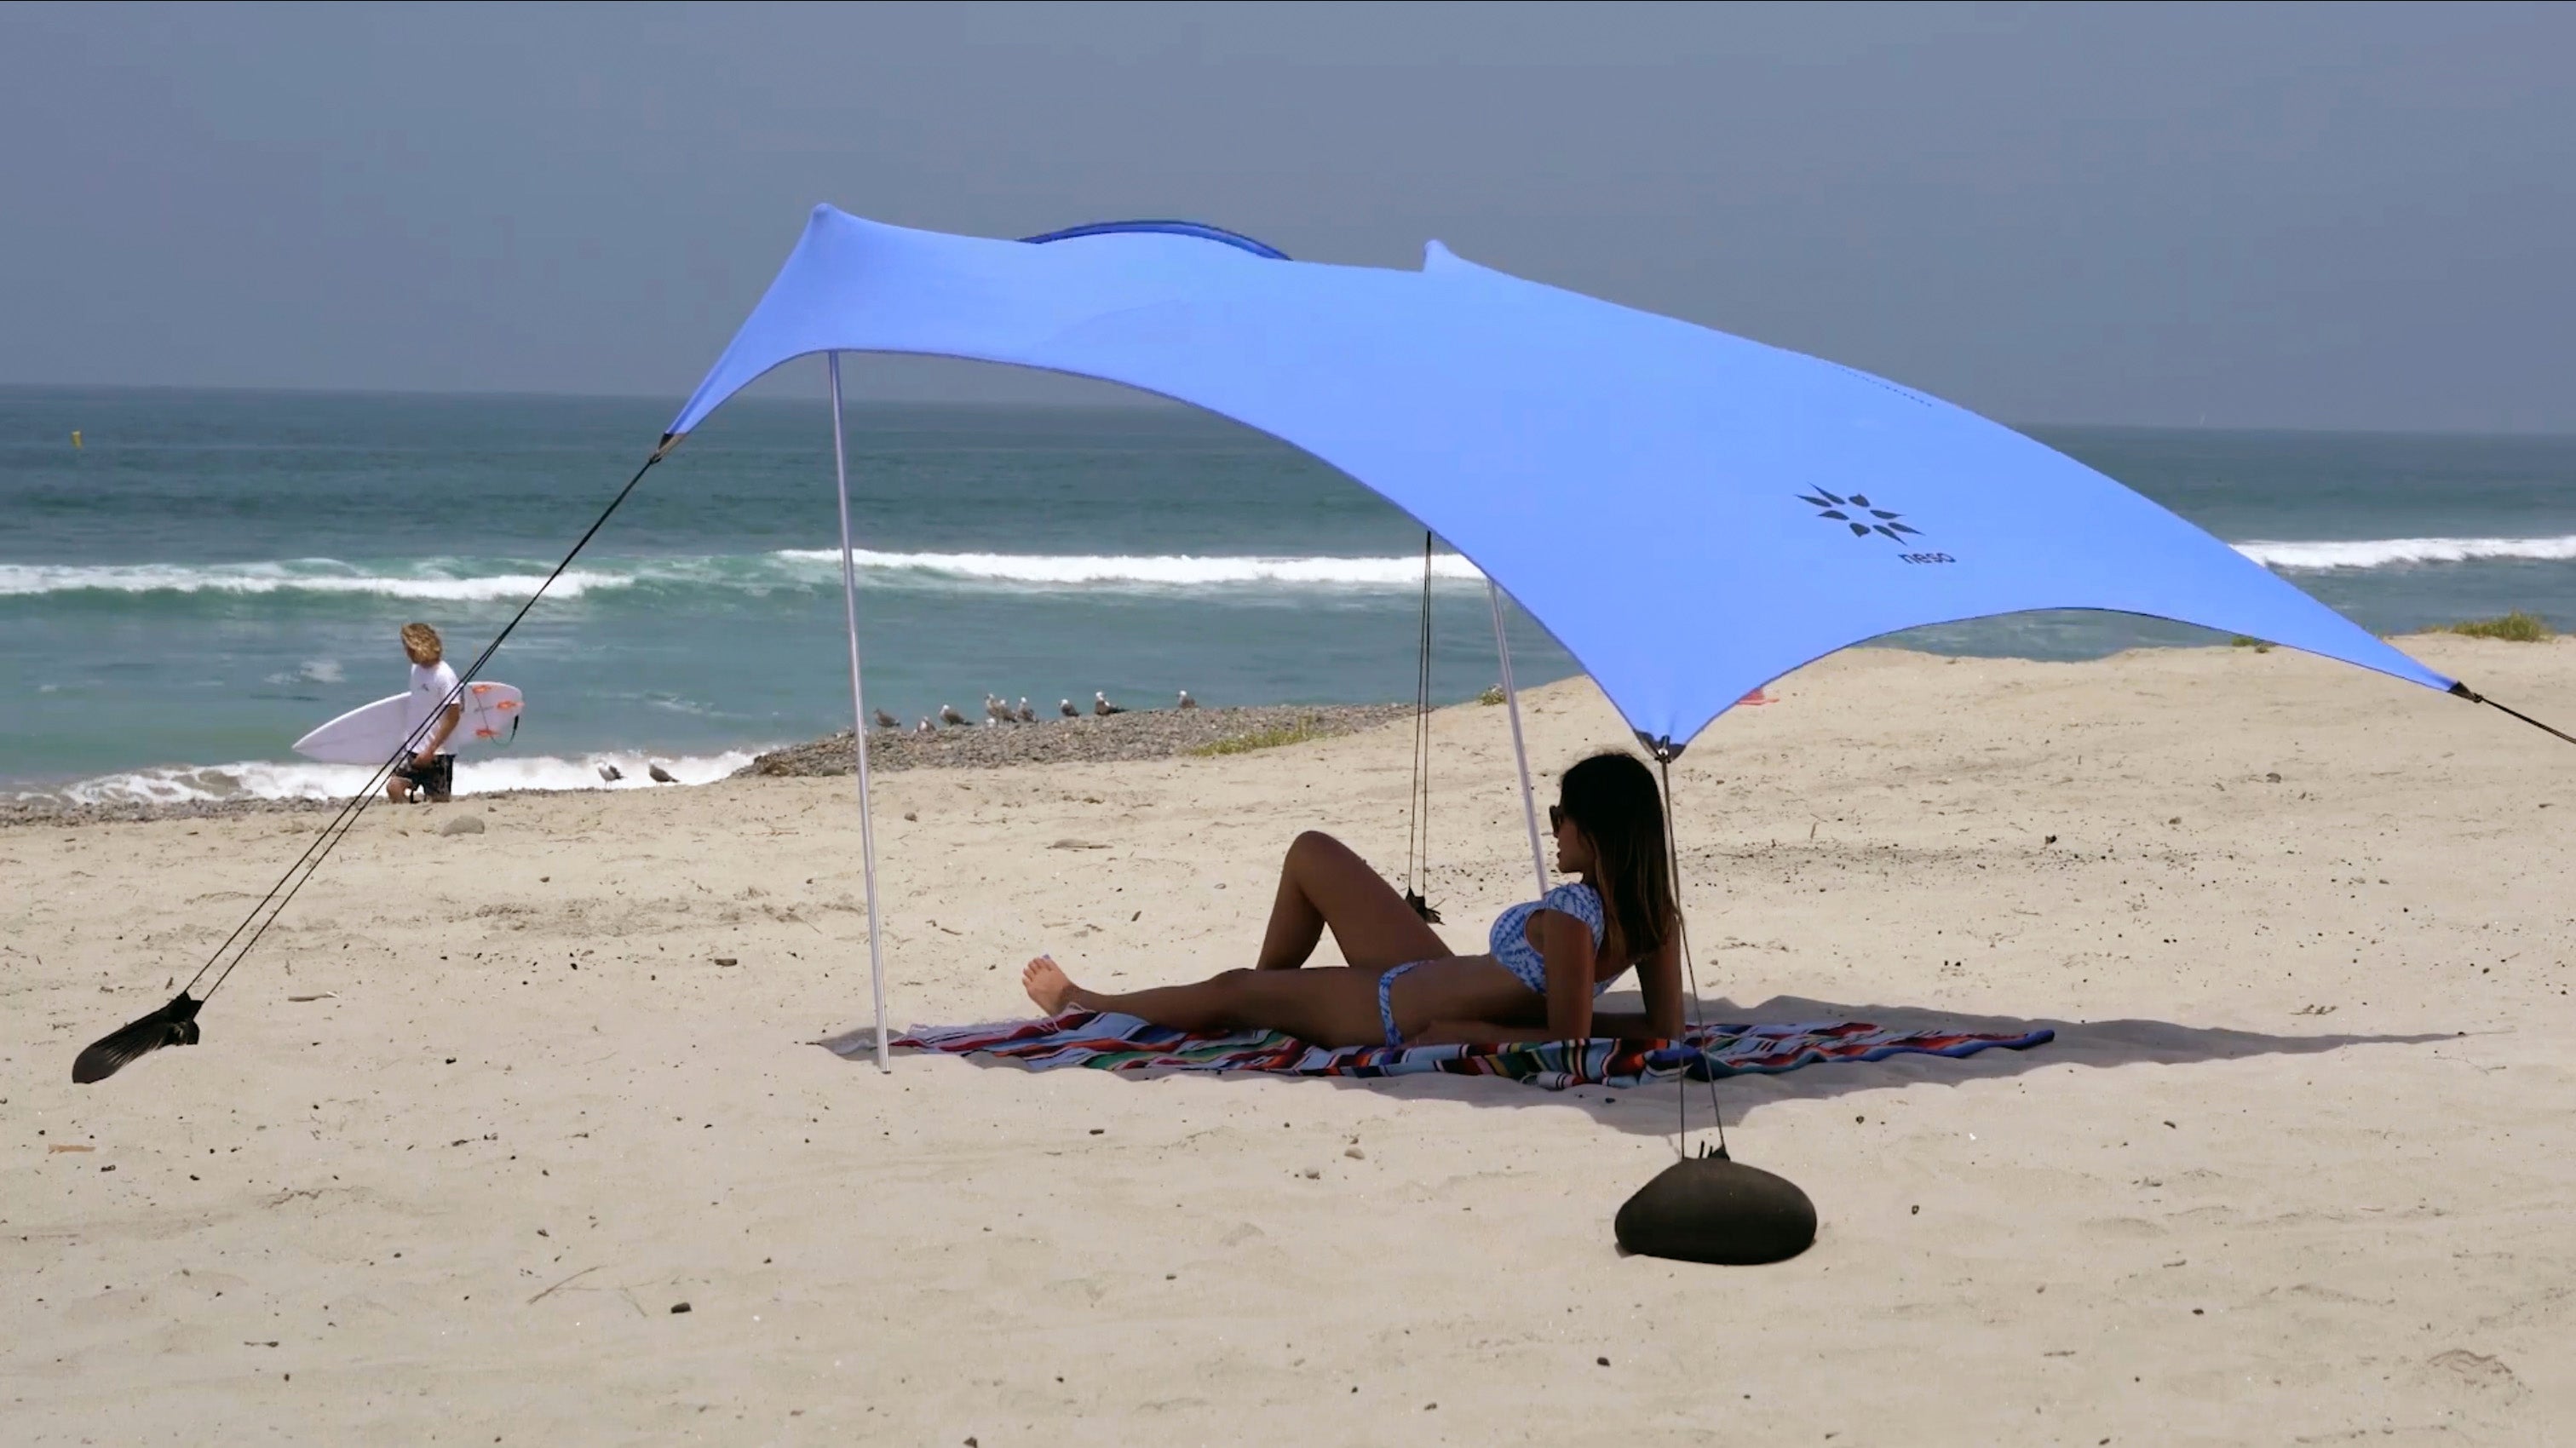
Beach Tent General Assembly

Lay tent flat.

Fill bags with sand or smooth rocks.
Overfill the bags until they are heavy, about the size of a basketball, and weigh 20 lbs.
Cinch the bags shut. Tying is not necessary.
MORE WEIGHT = MORE STABILITY

Create a large “X” by pulling the bags away from each other, ensuring the fabric is fully stretched.
MORE TENSION = MORE STABILITY

Brace the bags with sand or rocks so they don’t slide inwards when putting up the poles.
No need to bury the bags. That puts too much pressure on the fabric.

Extend the poles.

Prop tent with poles 1-2 ft from corners.
Do not place the poles at the corners as this creates too much pressure on the fabric.
Enjoy Your Neso!

Still having trouble?
Take the poles down and repeat steps 2-4 with more sand.
WINDY DAY SETUP TIPS
The Neso tent is versatile for windy conditions.

LIGHT WIND
Position poles on the side where the wind is coming from. Poles can be at a slight angle to brace the wind.
HEAVY WIND
Reduce the front “lip” that is fighting the wind.
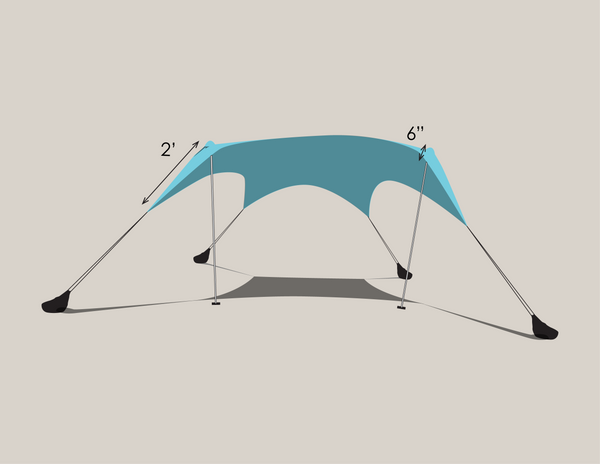
Position the poles so that they are 2 ft from the corners and 6 in from the edge stitching.
SWIRLING WIND
Try 3 or 4 poles. Position poles to create an opening for wind to flow under the tent. Check out examples here! Click Here
MORE iNSTRUCTiONAL ViDEOS
Check out the Neso tent in windy conditions here.